Step by Step Montessori 3-Part Cards Walkthrough

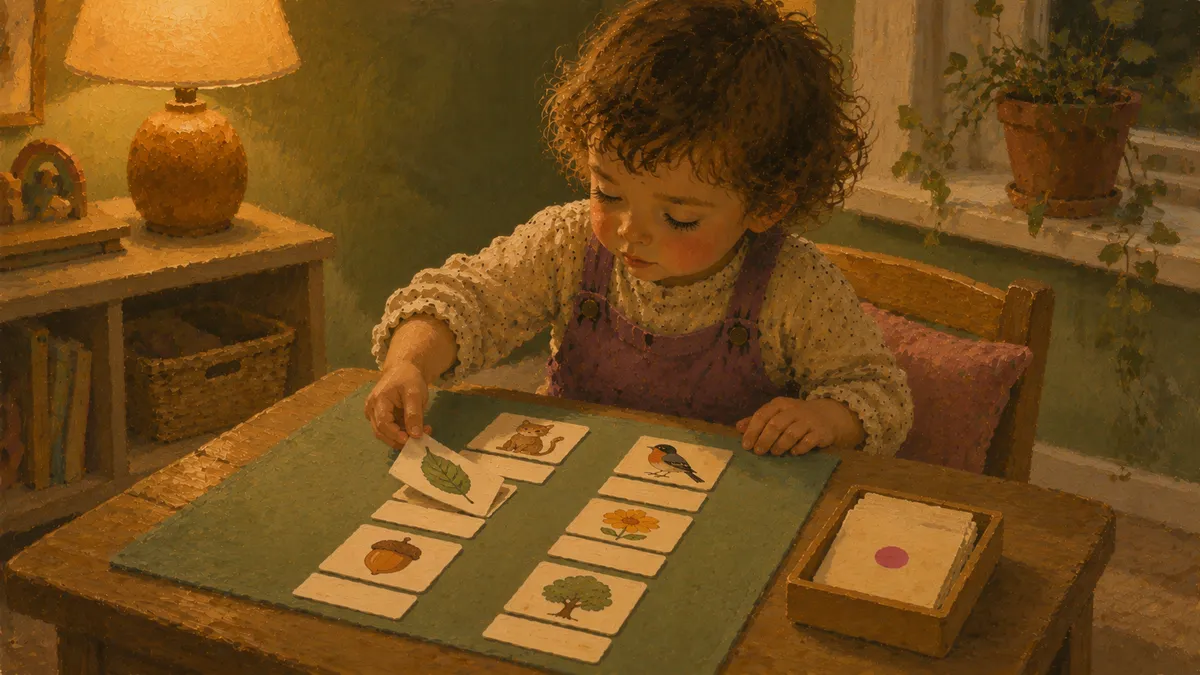
Montessori 3-part cards are a matching set of picture card, label card, and control card that you use to teach a child a word before they ever have to read it. They work because the child builds the concept in three stages, picture first, then word, then self-check, so nothing gets forced and nothing gets wrong-guessed past the point of confusion.
I’m Nora Hayes, a former preschool aide and the mom who’s run Montessori 3-part cards with my own kids more times than I can count, and this walkthrough goes step by step through what the cards are, how to run a session in under ten minutes, how to adjust them by age and ability, where to find sets, and a few follow-up games that stretch one pack a long way.
The plan in brief:
- Lay out the picture cards alone and name each one in a three-period lesson
- Add the matching label cards and let your child pair label to picture
- Hand over the control cards so the child self-checks and fixes every mismatch
What Montessori 3-Part Cards Are and Why They Work
Before you lay a single card on the table, it helps to know what each piece does and why this little three-card trick holds a kid’s attention. Here’s the anatomy, then the payoff.
The Three Pieces in Every Set
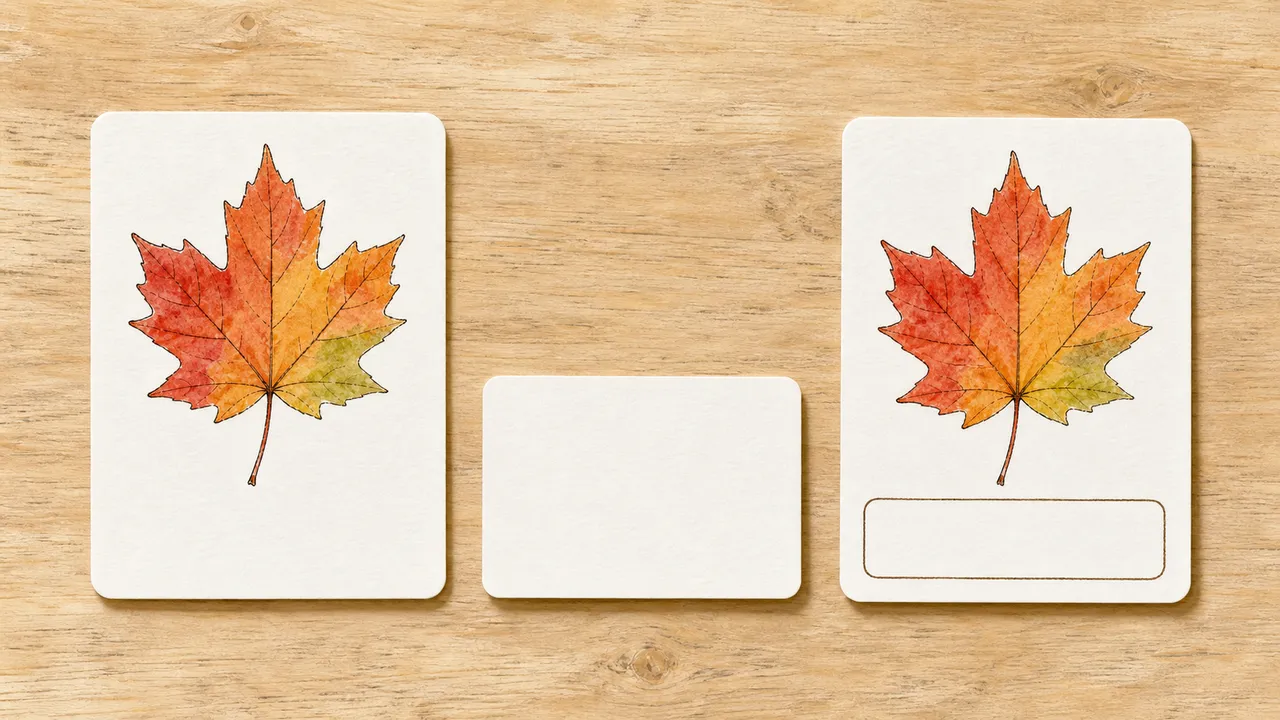
Every three-part card set is exactly that: three cards covering one thing, like a maple leaf or a robin.
- The picture card shows the image alone, no words
- The label card shows the word alone, no picture
- The control card, sometimes called the object card, shows both together
The magic is in that third one. The control card is the answer key your kid holds themselves. When they’re matching the loose label to the right picture and they’re not sure, they flip to the control and check. Right? Move on. Wrong? Fix it and try again. No “oops, not quite” from you hovering over their shoulder.
That’s the whole point of the design. The Global Montessori Network describes the control card as the piece that lets a child self-check without an adult stepping in. Self-correction does the teaching, so the matching feels like a puzzle they’re solving, not a quiz you’re grading.
How They Build Vocabulary and Independence
Vocabulary building is the obvious win. A child names the maple leaf, the oak, the birch, and suddenly “tree” splits into real, specific words for the world around them. The International Montessori Association’s overview of nomenclature-card use shows how these cards support vocabulary enrichment with kids ages three to six, covering everything from winter clothing to the parts of a flower.
But the quieter wins matter more.
- Self-paced work: your kid sets the pace and catches their own mistakes without you stepping in
- Real concentration: the kind where they forget you’re in the room
- Early classification: sorting leaves with leaves, animals with animals; the brain learning to put the world in order
If you’re new to the bigger picture, what is montessori and how it leans on independence will make all of this click. The cards aren’t a worksheet. They’re a small, repeatable taste of a kid doing something hard, alone, and nailing it.
How to Present 3-Part Cards Step by Step
The three parts below walk you through each piece, in the order I run it at my kitchen table.
- Lay out the mat and sort your card stacks.
- Teach the words with the three-period lesson.
- Let your child match the labels and check their own work.
Set Up the Work Mat and Cards
Start with the mat, because the mat does half the parenting for you. A Montessori work mat usually runs about 2 by 3 feet up to 2 by 4 feet, and when your child unrolls it, that’s the signal that the work has started; rolling it back up means done. It also trains the eye to move left-to-right and top-to-bottom, the same path reading takes later.
No mat? A placemat or a towel works fine.
Separate your three card stacks before you call your kid over:
- Pictures: one pile
- Word-only labels: a second pile
- Control cards (picture plus word): off to the side
If you’re using printables, give each set its own labeled envelope or small box so storage is grab-and-go, not a scavenger hunt, and an age-appropriate set is ready when you are. Then the invitation, which is just words: “Want to do the animal cards with me?” Keep it that small. This is the Montessori method at its least fussy.

Run the Three-Period Lesson
Now you teach the words. The naming sequence here is the Montessori three-period lesson method, which Maria Montessori borrowed from Édouard Séguin and credited him for in The Discovery of the Child. Three short stages, no worksheet.
- First, naming. Lay out three picture cards, touch each one, and say only the word. “Fox.” “Owl.” “Frog.” No “can you say fox?” yet, just the clean label landing in their ears.
- Second, recognition. Leave the cards out and ask them to point: “Show me the owl.” “Where’s the frog?” You’re checking whether the word stuck without putting them on the spot to talk. Wrong card? No correction. Go back a step and name it again.
- Third, recall. Now you point and they say it. “What’s this one?” If the vocabulary landed, the word comes out. If it doesn’t, drop back to naming, calm as anything.
Build it slow and you get vocabulary, language development, and the front edge of early literacy and phonics, all from a kid pointing at a fox.
Match, Label, and Self-Correct
This is the part your child does mostly alone. Hand them the word-only labels and let them match each one to its picture on the mat, reading or guessing the word, then sliding it underneath.
Then each control card comes down beside its pair, one by one, and your child walks the row.
Sit on your hands here, because self-correction only builds when you let the card be the one who says “not quite.”
That’s the full session. When you want fresh themes to keep it going, my favorite ready-to-print montessori activities printables are the lowest-effort way to swap in new vocabulary without making a single card yourself.
Adapting the Cards by Age and Ability
The three-card format isn’t a fixed script. Strip it back for a toddler who isn’t reading yet, or reshape it entirely for a child who learns differently.
Younger Toddlers vs Ages 3 to 6
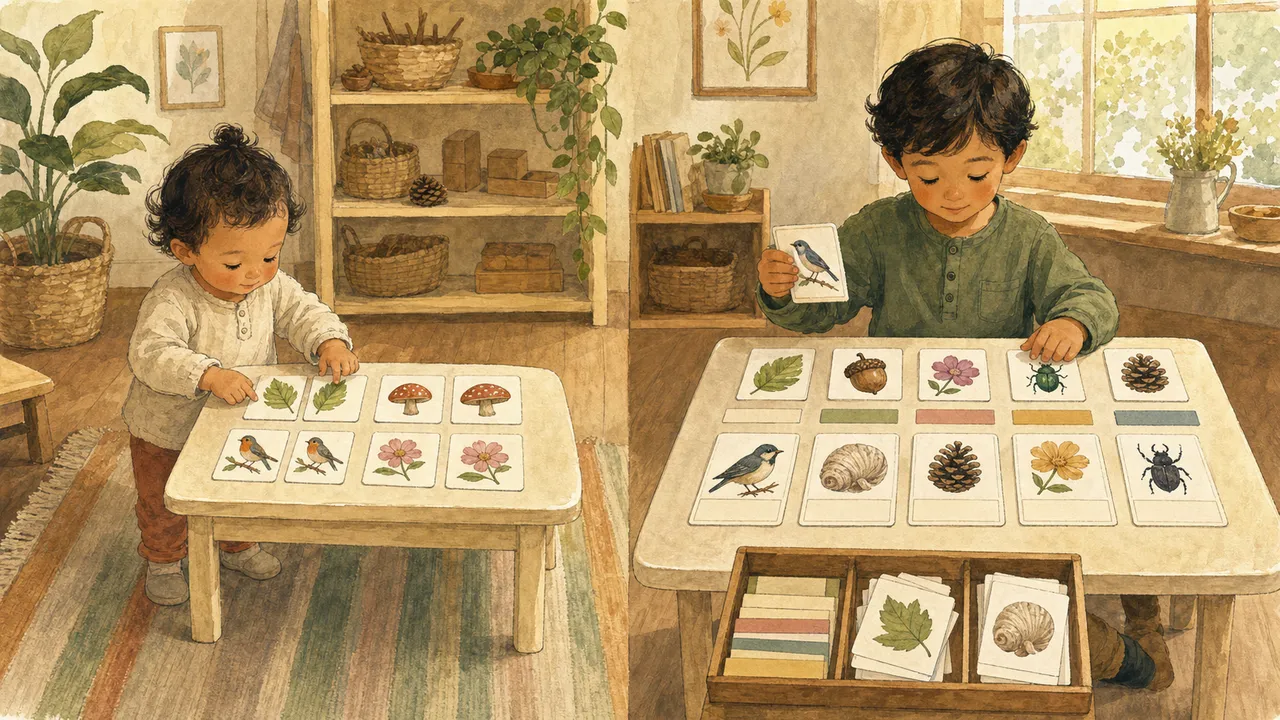
Under three, pull the label cards out completely. The whole activity becomes picture-to-picture matching: you lay out the picture cards, hand your toddler the duplicates one at a time, and let them pair each up. Simple, age-appropriate, and genuinely engaging for a kid who doesn’t know letters yet.
Around three, when early literacy starts to click, you slide the word labels back in. Start with just two or three pairs so reading the label feels like a win, not a slog.
By four or five, most kids handle five to seven pairs and enjoy moving through the stages: name the pictures, match the labels, check with the control. By six, some kids are ready for definition cards alongside the set, which turns the whole thing into a phonics and reading comprehension exercise rather than just matching.
Children Who Resist or Learn Differently
Not every kid sits down, matches quietly, and announces they’re done. Here’s what actually works when that’s not your child.
- Nonverbal or pre-verbal kids: Drop the verbal naming. Focus on pointing, handing, and placing. The cards still build vocabulary and classification; the child just shows understanding differently. For a detailed look at this setup, see how to adapt montessori 3 part cards nonverbal kids can use.
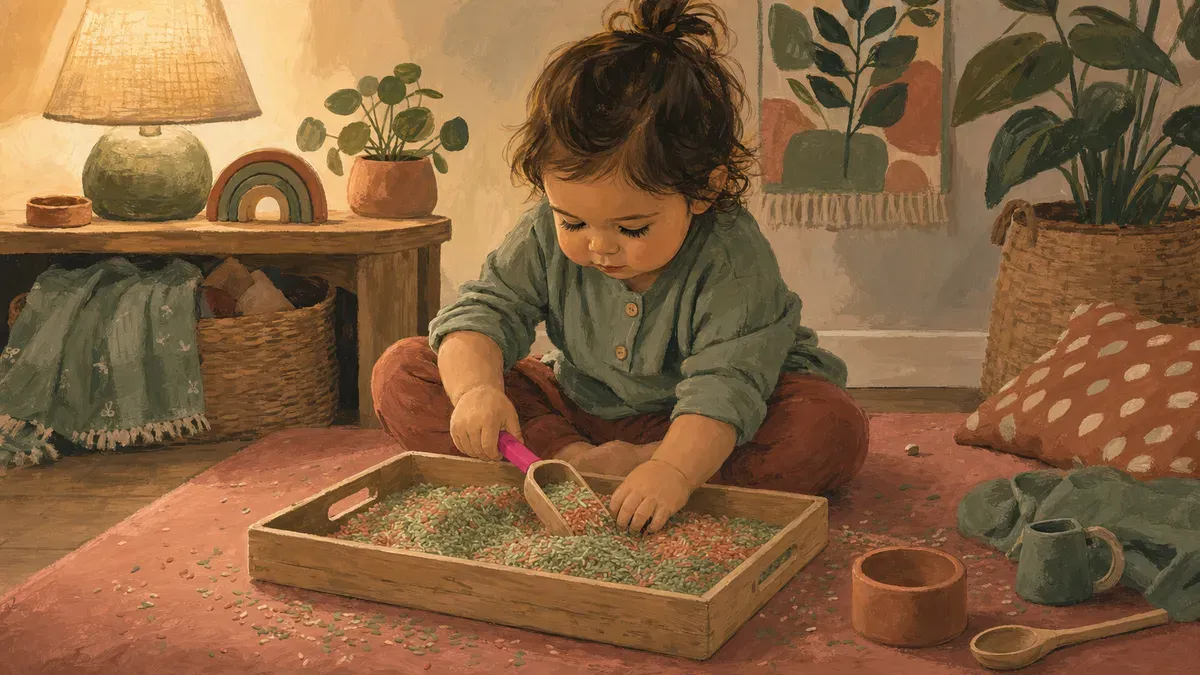
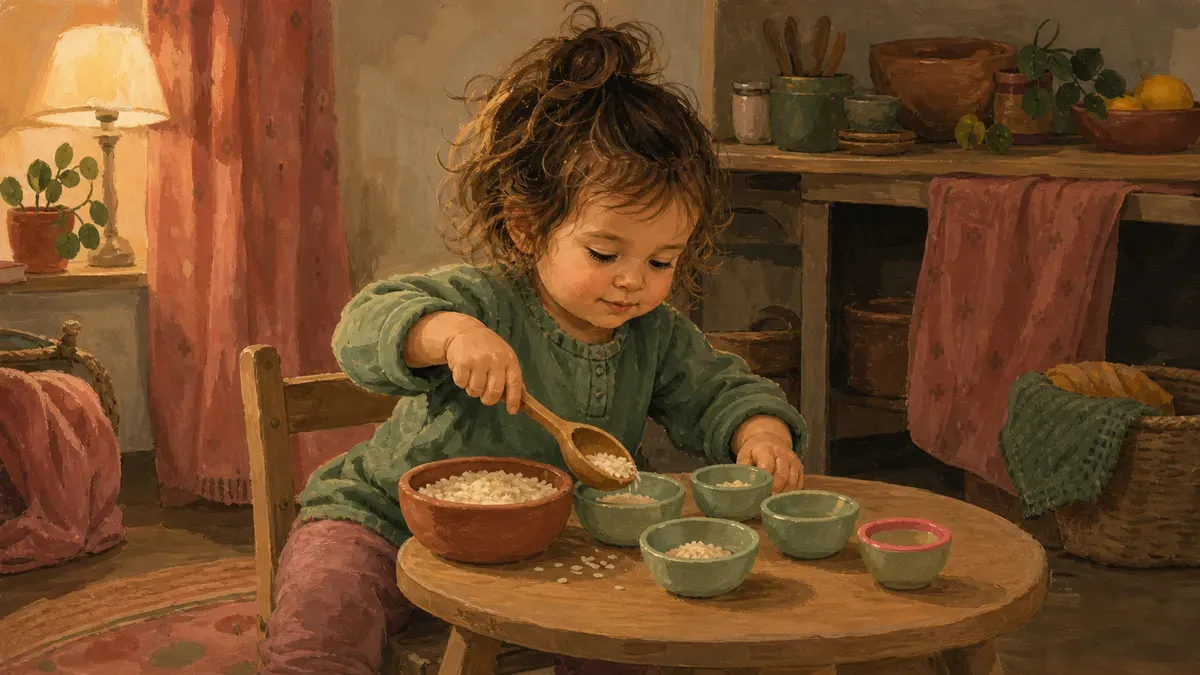
- Sensory-seekers who need to move: Let them stand at a low table, walk the cards across the room to a second mat, or sort into bowls instead of laying flat. Child-led learning means the method bends, not the child.
- Kids who won’t sit long: Shrink the set to three pairs. One minute of concentration is a real win. Self-correction built into the control card means they can finish a micro-session alone and feel the independence of checking their own work.
- Kids who resist follow-up activities: Don’t force a next step. If they matched and walked away, they got something from it. Try again tomorrow with a different theme.
Making or Buying Your Own Card Sets
The “different theme tomorrow” part gets easier once you have a system for making or sourcing sets. Here’s how to build that supply without burning an afternoon or your budget.
DIY From Free Printables
Start with a search for free printable nomenclature card sets. Sites like Montessori Print Shop offer free printable nomenclature card sets across dozens of topics, and a quick download gets you a new theme in minutes. Print at home, cut with a paper trimmer (scissors work, just slower), and laminate.
A laminator is the one investment worth making. A decent home laminator won’t break the budget and pays for itself the first time a card survives a toddler snack break.
Color-coded stickers on the backs of each set make cleanup fast. Red dot = farm animals, blue = ocean, green = garden. One sticker color per theme, and the cards sort themselves when they tumble off the mat.
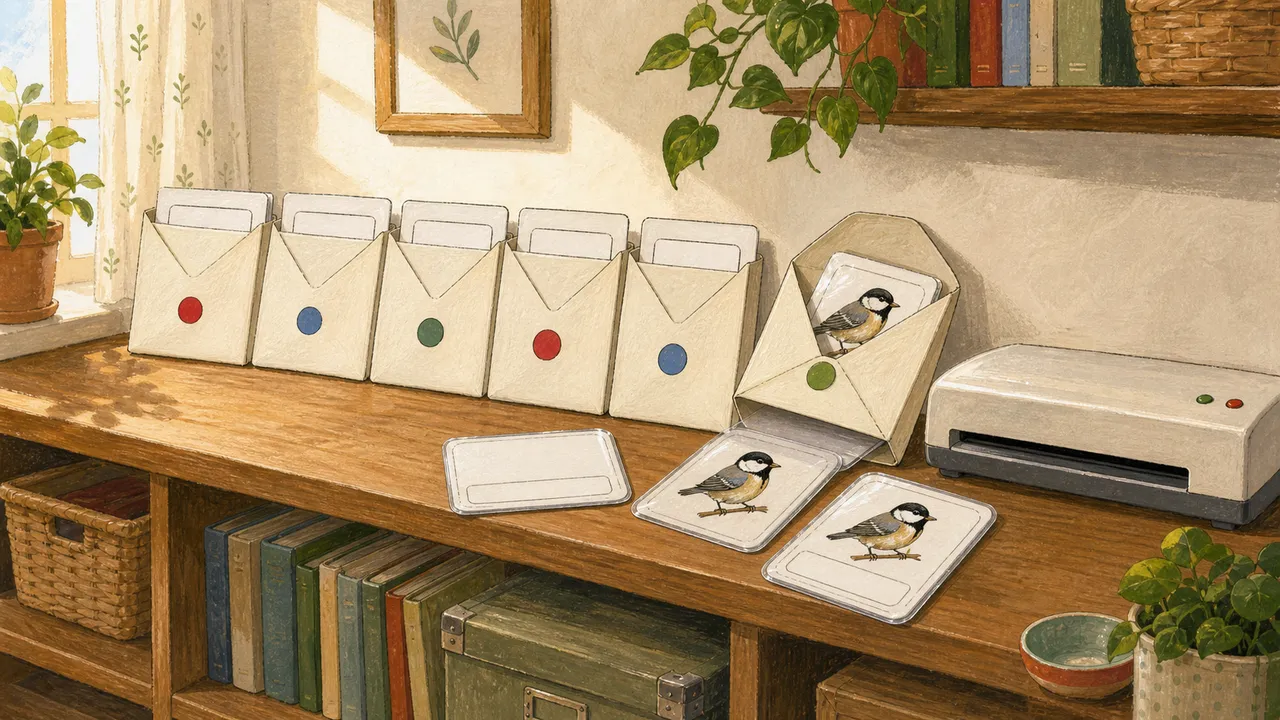
Store each set in a labeled envelope or small zip bag. That’s the whole DIY system.
When Buying a Set Makes Sense
If your kid burns through themes fast, or you’re homeschooling and want pedagogically sequenced classified cards across a year, a ready-made bundle starts to make real sense. The Montessori Print Shop lists their Classified Cards Bundle at around $40 as a digital download; per their product page, that covers 59 themed sets and 858 total cards. You still print and laminate, but the planning is already done. Check the current listing for the latest price.
Physical sets on Etsy exist too, already cut and sometimes laminated, at a range of prices that climb the more hands-on they are.
- DIY from free printables: costs roughly the price of printer ink for a month of themes
- Ready-made bundle: skips the hunting and organizing, worth it on a busy week
Once you have a set you love, there’s a lot more you can do with it. Our guide to 15 ways use nomenclature cards kid covers ideas that go well beyond basic matching.
Extending the Cards With Follow-Up Activities
The cards do more than one job. A few easy extensions keep the vocabulary building going without any new prep.
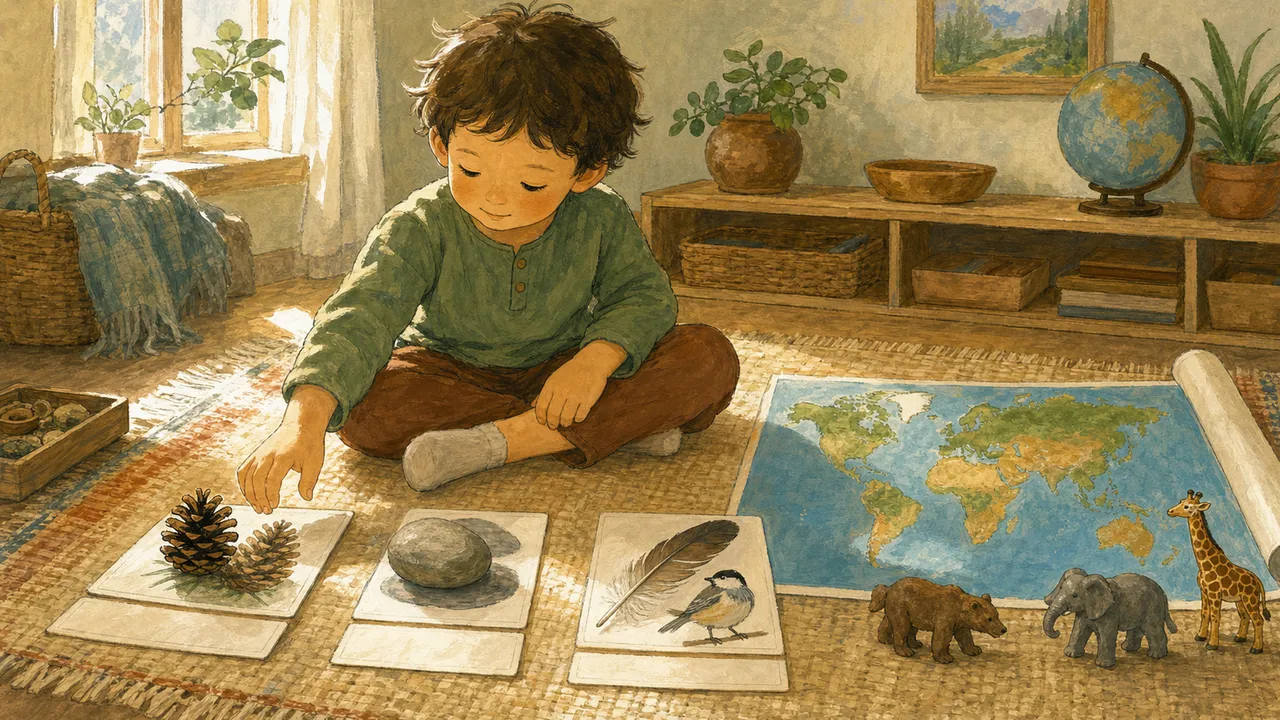
- Match to real objects. Set out a pinecone, a toy frog, a piece of fabric (anything around the house) and invite your child to pair each one with its picture card. Holding the object anchors the word in a way a flat card alone cannot.
- Sort into groups. Mix two or three classified card sets together, then ask your child to sort by category. Quiet classification work, and it often runs longer than the original matching did.
- Make a little book. Draw each picture, copy the label underneath, staple the pages. For homeschool families it doubles as a record. For everyone else it is just something they made.
- Start a nature journal. After any animal or plant set, your child picks one topic, copies one fact into a notebook, and sketches it. That bridges the cards into independent inquiry without making it feel like school.
For more ideas, browse our full library of Montessori printables or compare animal flashcards vs 3 part cards before buying. Montessori continent animal cards pair naturally with the sorting and booklet extensions above.
Found this useful? Save it for the next rough afternoon.
Questions parents ask me about this
At what age can a child start using Montessori 3-part cards?
Most kids are ready to start with the picture cards alone somewhere between 18 months and 2 years, once they're pointing at things and naming them. The full three-card set (picture, label, and control) comes in around age 3, when letters start meaning something. Start with a small set of 3 to 5 pictures on a topic they already love, and add the word cards only when matching pictures feels easy and fun.
How are Montessori 3-part cards different from regular flashcards?
Regular flashcards test the child: you hold the card, they answer, you say right or wrong. Three-part cards are set up so the child checks their own work using the control card, which has both the picture and the label together. No quiz, no adult judgment, no pressure. The child matches the pieces, then verifies the answer themselves, which builds confidence and keeps them coming back to the work.
Do I need to laminate the cards before using them?
Laminating makes a real difference for durability, especially with a toddler who handles the cards repeatedly over months. A laminated set survives spills, bent corners, and daily use in a way that plain paper does not. If you don't have a laminator yet, printing on cardstock and keeping sets in labeled envelopes still works fine as a starting point while you decide whether to invest.
How many card sets should I introduce at one time?
One set at a time. Introducing two or three categories at once splits attention and makes the matching harder to complete successfully. Let a child work one set until the matches feel automatic, which might take a few days or a few weeks depending on the child. Then rotate in a new set while the first one stays available on the shelf.
What do I do if my child keeps getting the matches wrong?
Drop back to fewer cards. If a set of eight pictures is producing a lot of wrong matches, pull it down to three or four images from that same set and let those feel easy first. Wrong matches are usually a signal that the set is too big or the topic is less familiar than it seemed, not that anything is wrong with the child. The goal is success most of the time, so shrink the work until that's true, then build back up.
Can I use 3-part cards in two languages at once?
Yes, and it works naturally. Print two sets of label cards for the same pictures, one in each language, and invite the child to match both sets to the picture cards. Keep the label cards visually distinct. A different color border works well, so the child can sort by language before matching. This is a simple way to reinforce vocabulary in both languages during the same short work session.
How should I store and organize my 3-part card sets?
A small basket or box on a low shelf lets the child choose and return their own work independently, which matters more than any particular container.
Written by
Nora Hayes
Mom of two and a former preschool aide. I share the screen-free sensory play and calm-down ideas I test at my own kitchen table, plus what the moms in my little meet-up swear by. A parent passing on what works, not a doctor or a therapist.
More about NoraKeep going
All Montessori-
 Montessori
Sensorial Montessori Activities That Calm Toddlers
Sensory-seeking toddler heading for a meltdown? These 10 sensorial Montessori activities calm and refocus little hands fast.
-
 Montessori
Practical Life Montessori: 20 Kitchen Activities
Practical life Montessori starts in your kitchen. Get 20 no-buy activities using spoons, jars, and bowls you own. Set up a tray today.
-
 Montessori
Montessori Activities for 2 Year Olds: 30 Ideas
30 Montessori activities for 2 year olds, sorted by mess level. Pick a no-mess tray or a sensory bin and set it up tonight.
-
 Montessori
Why We Left Montessori: 5 First-Year Mistakes
Why we left Montessori nearly happened over 5 rookie mistakes my first year at home. See what went wrong and how to fix each before you quit.