Sensory Bin Fillers You Already Have at Home

The best sensory bin fillers are already sitting in your pantry: dry rice, pasta, oats, dried beans, flour, and coffee grounds all pour, scoop, and bury small toys just as well as anything you’d order online.
I’m Nora Hayes, a former preschool aide who has run hundreds of these bins with my own two kids, and I promise you don’t need a single fancy product to keep a toddler busy for twenty minutes. This guide walks through 20 cheap fillers you likely already own, when a bag of kinetic sand is actually worth buying, and which scoops and tools from your kitchen drawer do the job for free.
What Makes a Good Sensory Bin Filler
Not every filler earns its spot in the bin. The two things I weigh before pouring anything in: how it feels and how safe it is, then whether it pours or molds.
Texture, Safety, and Mess Level
The best sensory play materials hit three notes at once: an interesting texture, a safety level that matches your kid’s age, and a mess you can actually clean up.
Texture is the whole point. Smooth rice, gritty coffee grounds, slippery cooked spaghetti. Each one gives little hands different tactile feedback, and that variety is what builds fine motor skills as they scoop, pinch, and pour. The squishy stuff helps with emotional regulation too, which is why I keep a calm filler on hand for the wound-up days.
Safety comes first for the under-2 crowd. If your toddler still mouths everything, the filler has to be taste-safe, full stop. Anything small enough to swallow is a problem: the US small-parts choking-hazard regulation flags any object that fits inside a 2.25-inch test cylinder, and a single dried bean clears that bar easily.
Then there’s mess. Dry rice sweeps up with a broom and dustpan in two minutes flat.
Dry Fillers Versus Wet Fillers
The materials for sensory play split into two camps, and knowing which you’re reaching for saves your floor.
- Dry fillers (rice, beans, oats, dried pasta): pour freely, store in a jar and reuse for months, sweep clean in minutes
- Wet fillers (oobleck, clean mud, water beads): hold a shape, deliver the deepest calming input, plan to toss them after a few sessions
These are my default for a quick win on a tired afternoon.
Keep them at the table, plan to toss them after a few sessions, and you’ve still got a great setup. For more ready-to-go combos, my guide to sensory bins for toddlers pairs each filler with the right tools.
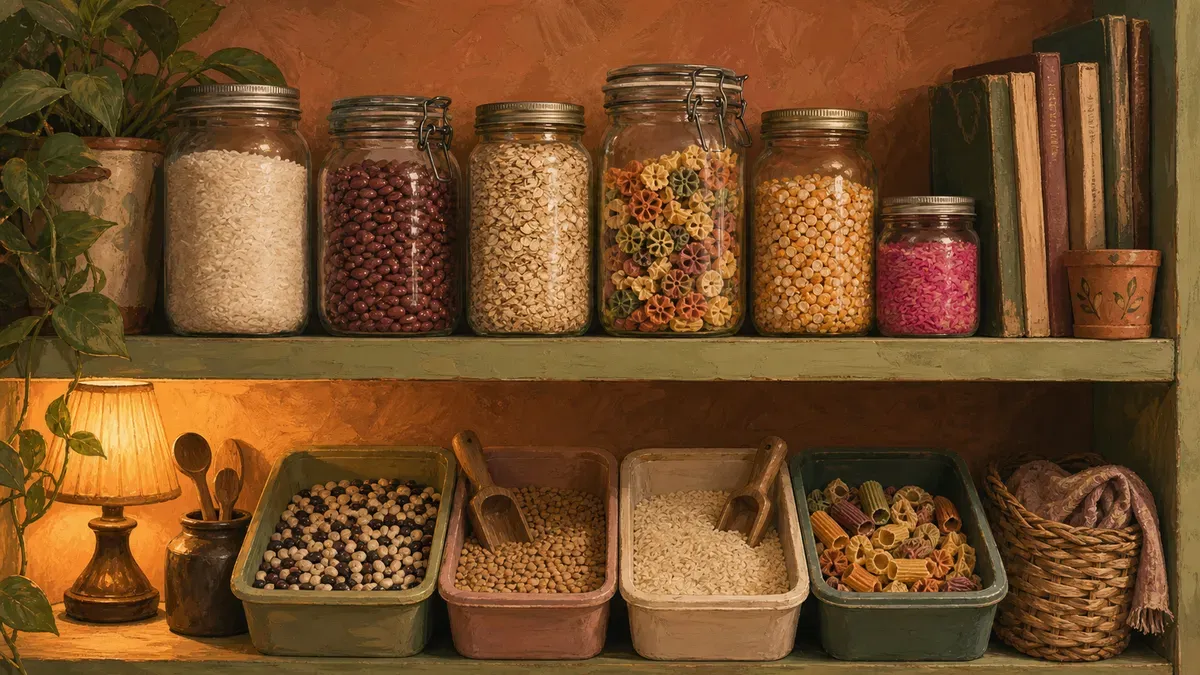
20 Pantry and Household Sensory Bin Fillers
Open your pantry and your craft drawer and you’ve already got two weeks of bins. Here’s the running list I pull from, split into the pourable stuff, the soft powdery stuff, and the squishy mixes you whip up from things you’d otherwise throw out.
Dry Grains, Beans, and Pasta
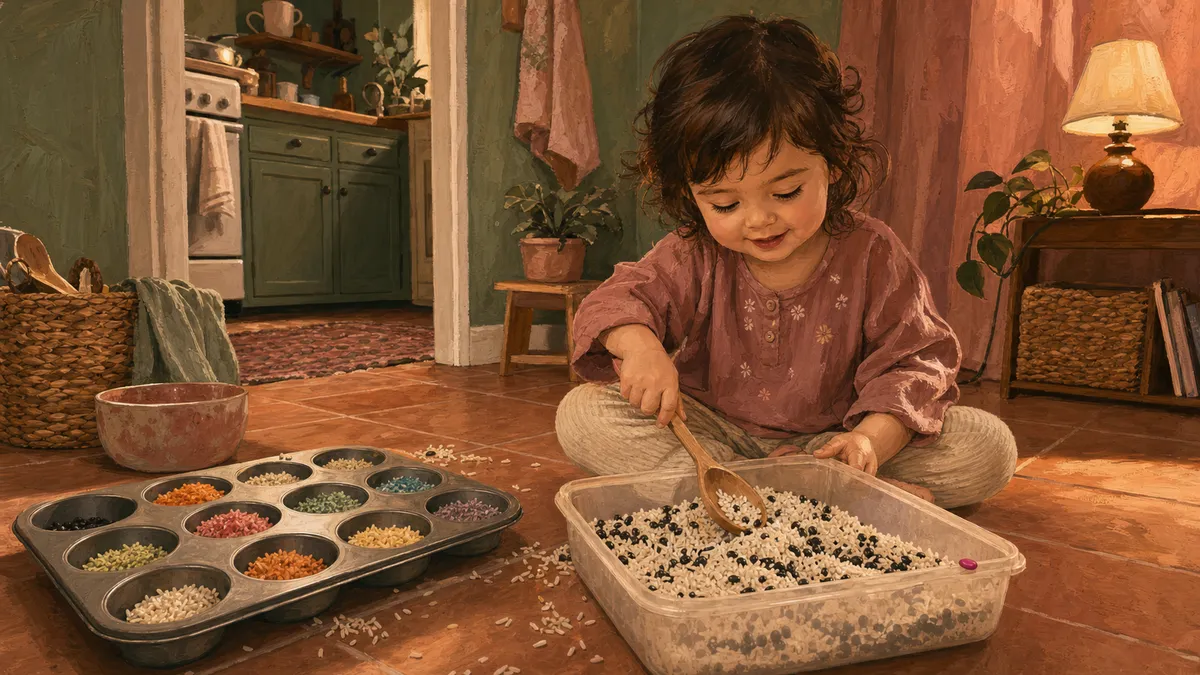
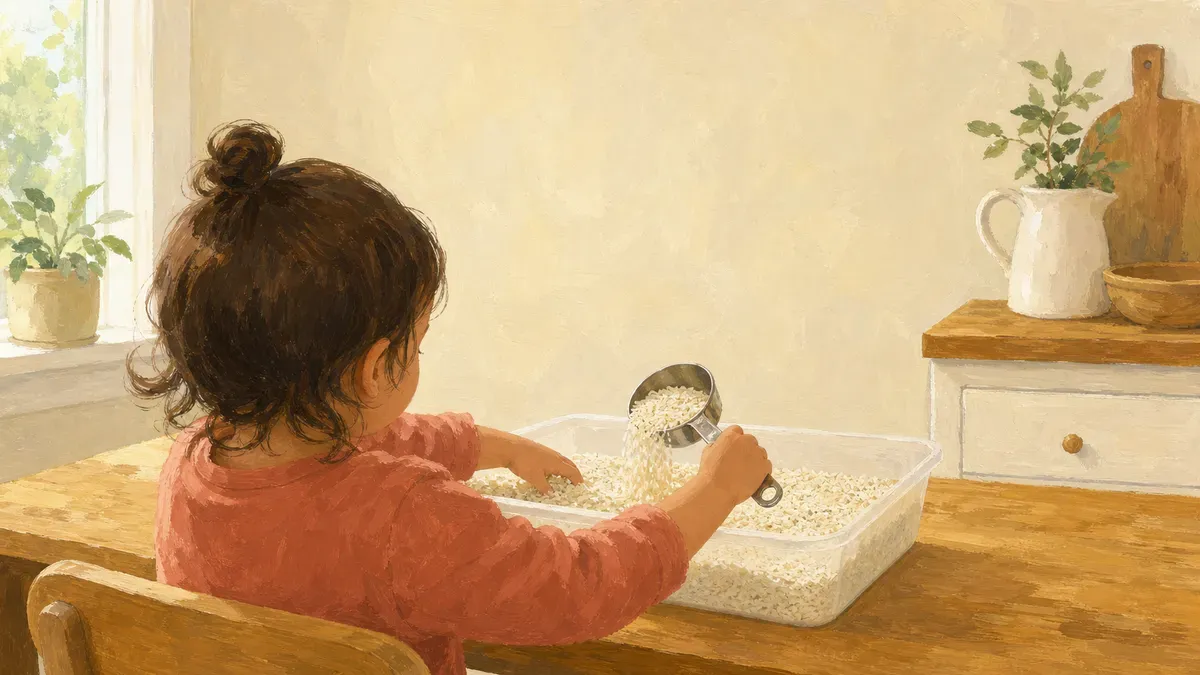
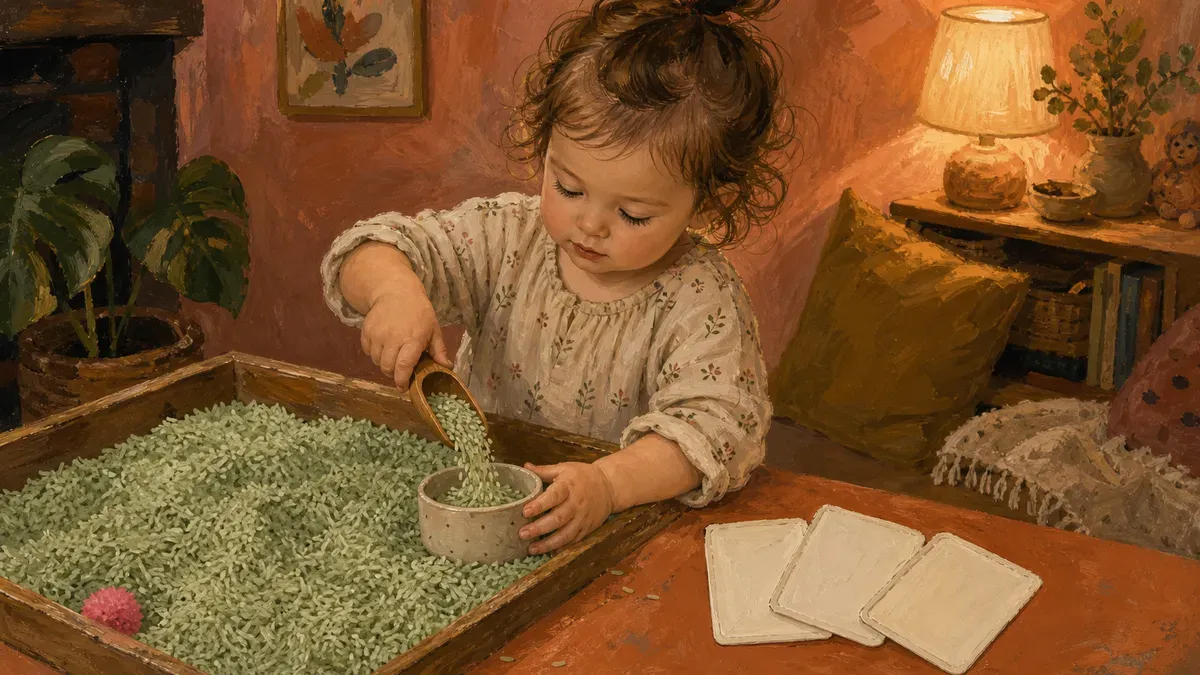
The pour-and-scoop crowd. These are the fillers June goes back to most, because there’s nothing to mix and almost nothing to mop. Plain white rice is the workhorse, and dyeing it turns a boring bin into a rainbow your kid actually wants to dig into.
Colored rice keeps in a sealed container for years, gets pulled out again and again, and is probably the cheapest filler you’ll ever make.
If you’ve never colored a batch, I lean on a food-dye-based coloring tutorial and my own walkthrough on how to dye rice for sensory play.
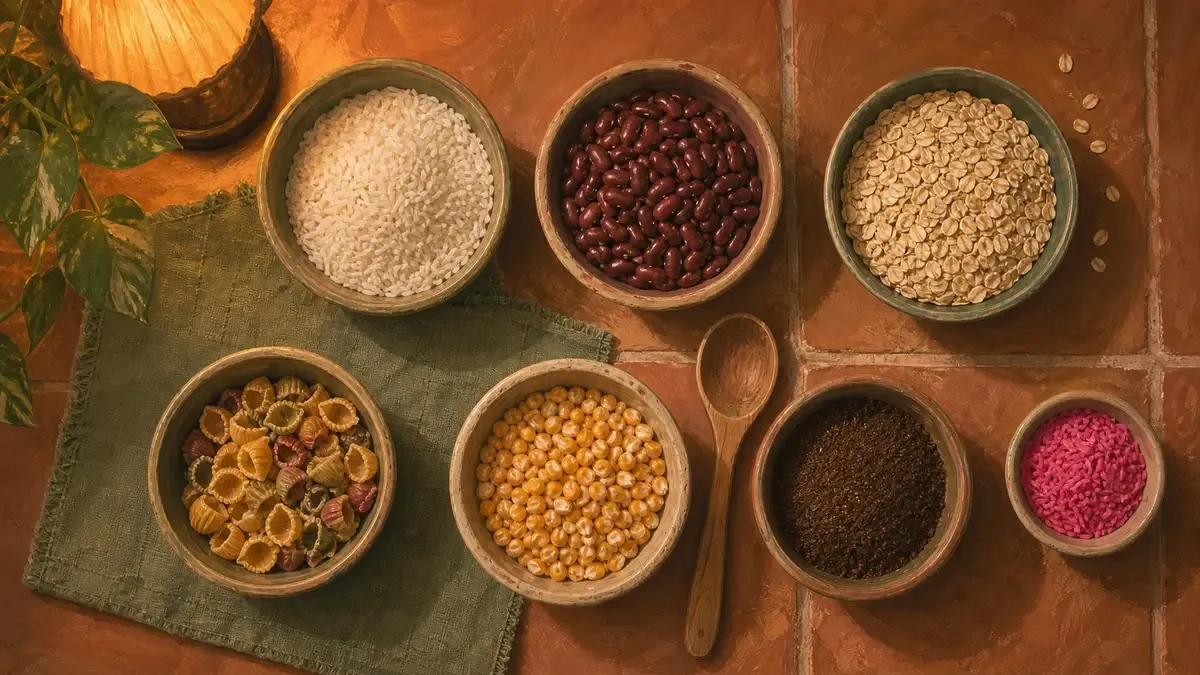
From there, raid the shelves. Here are the dry sensory bin filler ideas I rotate, with the one thing each is good at:
- Dried beans: big, easy to grab, perfect for scooping into cups
- Chickpeas: heavier, with a satisfying clatter, good for older toddlers
- Corn kernels: smooth and cool, they pour like water
- Colored pasta: penne and bowties sort by shape and color
- Dry spaghetti: snap it, bury little toys, let them dig
- Rolled oats: the soft, quiet one for kids who hate noise
- Birdseed: tiny and trickly, the closest dry thing to sand
- Chia seeds: teeny and oddly grippy, a texture all their own
Mix two or three and the bin feels new again. My one rule on these sensory bin materials: under two, everything still goes in the mouth, so keep beans and small seeds for the kids past that stage and hand the little ones plain oats or rice instead.
Salt, Sugar, and Powder Textures
Now the soft, fine, almost cloud-like fillers, the ones younger toddlers sink their hands into and just squeeze. Plain table salt and sugar both pour like fine sand and feel completely different from grains, though I keep these to short, supervised play with the under-twos since they’ll taste it. Flour on its own is a powdery mess your kid will love and you’ll sweep for a week, so I usually turn it into something that holds together.
That’s where cloud dough earns its spot as my favorite of these sensory table fillers. It’s two ingredients, flour and a little baby oil, mixed until it crumbles in your hands but packs into a mold. I use roughly eight parts flour to one part oil, and a sealed container keeps it usable for about a month before it’s time to start a fresh batch.
Cloud dough is the soft-landing filler: moldable enough to busy a three-year-old, mild enough for a younger one still mouthing.
You can do the same trick with oats. Blitz rolled oats in a blender and stir in a touch of oil and you’ve got oat sand, a gritty, taste-safe sand stand-in built entirely from kitchen staples. For a sensory-seeker who needs a real tactile hit, the oat sand and cloud dough both deliver without a single trip to the store.
Wet and Moldable Household Mixes
When dry won’t cut it and your kid needs deeper input, these are the no-buy squishy mixes. Plan the cleanup, do them at the table, and they’re worth every wipe.
-
Soap foam: dish soap plus water, beaten with a hand mixer for a minute; you get stiff, glossy bubbles that hold a shape and slowly melt, nearly free
-
Oobleck: a couple parts cornstarch to one part water, makes a non-Newtonian goo that goes hard when you punch it and runs like liquid when your hand relaxes; kids lose their minds over it
-
Shredded paper: dry, rustly, hides small toys for a treasure hunt
-
Pom poms: soft, colorful, made for sorting by tongs or by hand
None of these costs more than what you already toss in the recycling. Soap foam wipes up with the same cloth that made it, oobleck dries to a powder you sweep away, and clean mud goes straight in the trash when the fun’s done. That’s the whole appeal of household fillers: free, fast, and gone by bedtime.
Sand and Kinetic Sand Options Worth Buying
Some days you want a filler that outlasts a single afternoon, and sand is where I stop reaching for the pantry. Here’s the sand bin you can build for almost nothing, and the one molding filler I actually pay for.
Play Sand and DIY Sand Bins
A bag of play sand from the hardware store runs a few dollars and gives you the classic scoop-and-pour my kids never tire of. June will sit at a shallow sand bin with a cup and a dump truck longer than almost any grain filler I’ve tried, and unlike rice, it holds a tunnel and a road for pretend play.
The catch is it’s not taste-safe, so I keep it for June at 3, never for a mouther. When I want that sand texture without the worry, I make a flour-based sand dough: flour, oil, and a splash of water until it packs like damp beach sand. It crumbles and rebuilds, which is half the appeal for little hands working on tactile control.

Kinetic Sand and Playdough Pick
This is the one filler I tell tired parents to just buy. Kinetic sand flows like the real thing but clumps and slices clean, so it stays in the bin instead of all over your kitchen, and a 1 lb sandbox playset runs about $14.99 on the Spin Master shop as of June 2026 (check the current price before you order).
Homemade playdough is the make-it version: cheaper, squishable, and easy to color for themed bins, though it dries out where kinetic sand keeps its give for months. I’ve had the same tub of kinetic sand going for over a year of weekly scoops with Eli.
These two molders differ mainly in cost, shelf life, and how taste-safe they are:
| Filler | Roughly costs | Holds shape | Lasts | Taste-safe |
|---|---|---|---|---|
| Kinetic sand (Spin Master, 1 lb) | ~$14.99 | Yes, slices clean | Months of use | No, ages 3+ |
| Homemade playdough | Pantry pennies | Yes, soft and moldable | Days to weeks | Edible-ish, still supervise |
If your sensory-seeker wants something wetter and wigglier, a water sensory bin scratches a different itch entirely.
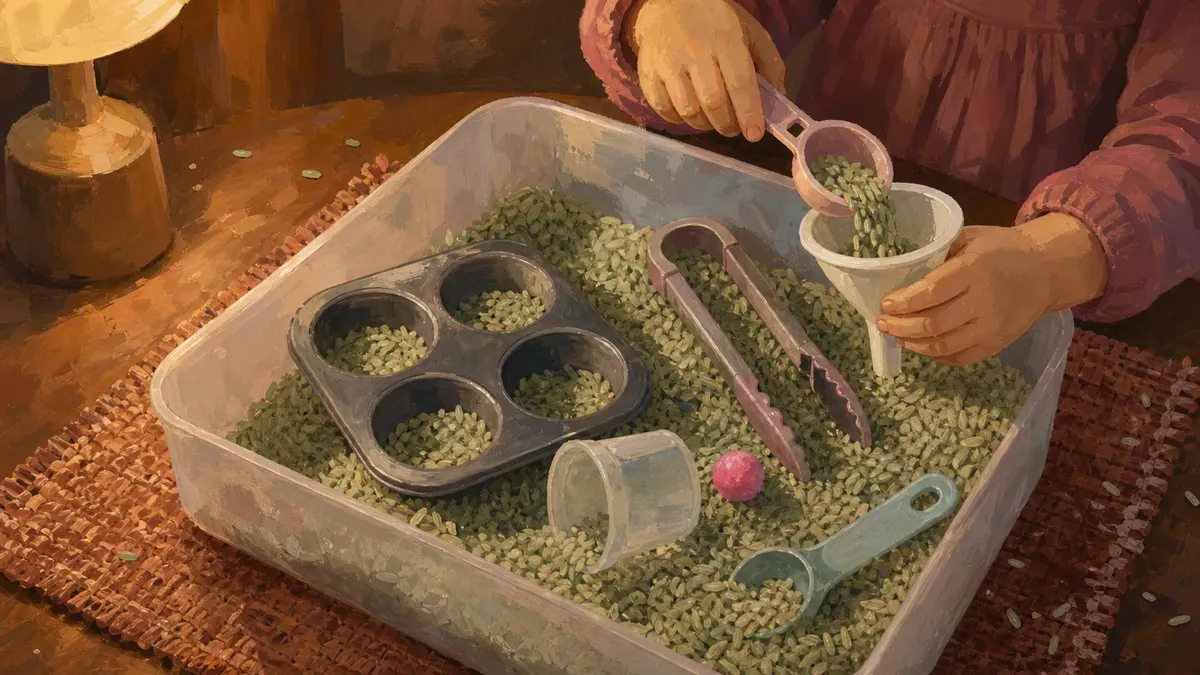
Tools and Accessories You Already Own
The filler is only half the bin. The tools your kid uses to dig, scoop, and pour are the other half, and almost all of them are already in your kitchen drawer. You don’t need a single themed set to start.
Walk through the cupboard before you spend a cent:
- Tongs and tweezers for pinching small objects, the kind of fine motor skills work that builds the hand strength for crayons and buttons later
- Measuring cups and spoons for pouring, dumping, and the math nobody calls math
- A muffin tin for sorting by color, which turns a free pile of beans into a quiet 15 minutes
- Funnels, a turkey baster, an old whisk for the kid who’d rather move material than sit still
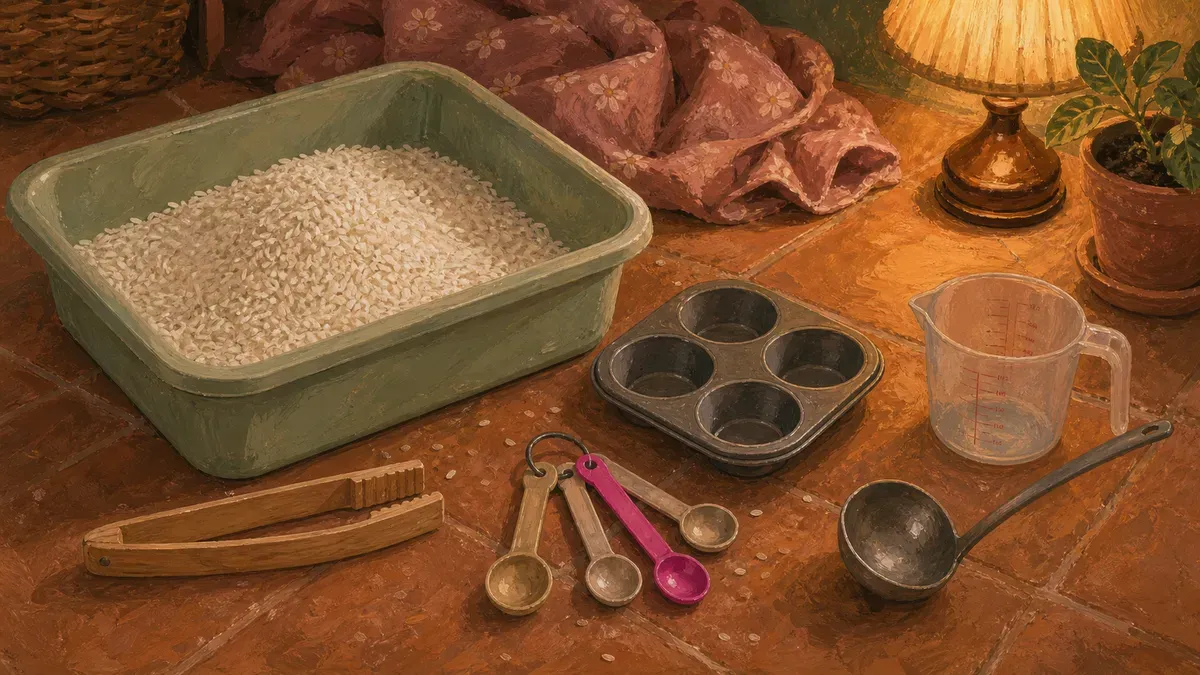
These household items also crack open the pretend play. June feeds plastic dinosaurs with a spoon for ages. Eli ran a whole “construction site” in dry rice for a month using two measuring cups and a soup ladle, nothing bought.
If you want to know which store-bought scoops are worth it once your kid outgrows the drawer, I broke that down in my roundup of the best sensory play toys. Start free first. The kitchen does plenty.
How to Match Fillers to Your Child
The right filler comes down to two things: whether your kid still mouths everything, and how fast they get bored. Sort those out and the rest falls into place.
Taste-Safe Choices for Mouthing Ages
With my June, a single rice grain still went straight to her lips at two, and I planned around it every single time. According to Cleveland Clinic, babies typically stop putting everything in their mouths somewhere between 15 months and 2 years, though it varies a lot by child. Until your kid is reliably past that, build taste-safe.
That means edible fillers you’d genuinely shrug at if a fistful went down. Big oats. Cooked, cooled pasta. A scatter of chia seeds soaked into soft little beads. All forgiving if a curious mouth gets there first.
What I’d skip at that age: small dry beans and loose salt. Beans are a real choking size for the littlest toddlers, and salt in any quantity is just a bad idea. For the full safe list, here’s taste safe sensory play broken down.

Swapping Fillers to Beat Boredom
Once mouthing isn’t the worry, boredom is. The same rice that bought you twenty minutes in March gets the cold shoulder by May, and that’s normal.
You don’t need new stuff, you need new texture. Rotate what’s already in the cupboard:
- Dry rice one week
- Soaked pasta the next
- Dry beans after that
The hands feel something different each time, and that difference is the whole hook.
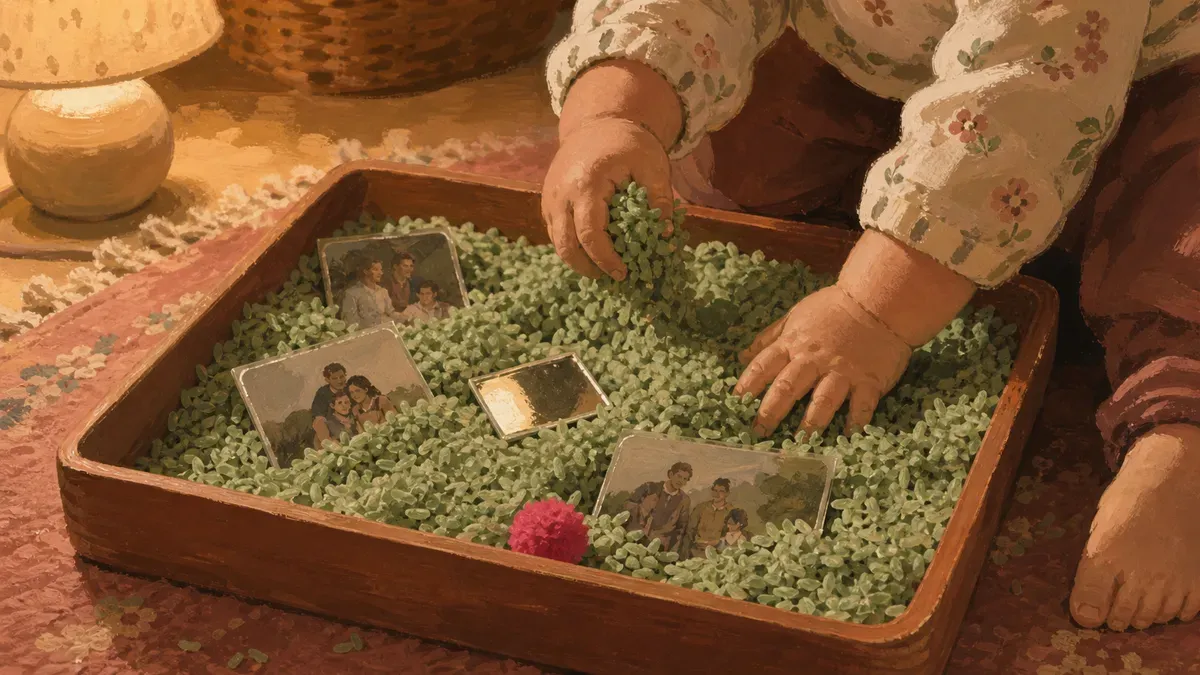
Seasonal and themed bins do the heavy lifting here. Same dyed rice, but now it’s orange with a few plastic pumpkins for fall, or blue with shells for a beach. The filler is identical; the pretend play around it is brand new. Cheap sensory activities stay fresh for months this way.
Keep three or four textures on rotation and you’ll rarely hear “this again.” For a deeper rotation plan, lean on our complete toddler sensory bin guide. The bin you already own has more lives in it than you think.
Found this useful? Save it for the next rough afternoon.
Questions parents ask me about this
What can I use as sensory bin fillers at home?
Rice, dry pasta, oats, dried beans, chickpeas, and corn kernels are all solid starting points. Flour, salt, and coffee grounds work for older kids who are past the mouthing stage. You probably already have two or three of these in a cabinet right now.
Are pantry sensory bin fillers safe if my toddler puts them in their mouth?
It depends on the filler. Big rolled oats, cooked pasta, and soaked chia seeds are genuinely taste-safe and fine if they get mouthed. Small dry beans, loose salt, and flour are not the right call for a kid still putting everything in their mouth. Under two, if you wouldn't let them eat it at the table, skip it for the bin.
How do I store leftover sensory bin fillers between play sessions?
Dry fillers like rice, pasta, and oats go straight back into a lidded container or a zip bag. If anything got wet or mixed with spit, toss it rather than saving it. Most dry fillers stay good for months as long as they are completely dry before you seal them up.
What is the easiest way to clean up after a sensory bin?
A flat-sided bin on a vinyl tablecloth or a cheap shower curtain catches most of what spills. Sweep loose dry fillers back into the bin with a dustpan, or let your toddler do it with a small broom. Wet fillers are easiest at a table you can wipe straight down.
Can I reuse rice or pasta sensory bin fillers more than once?
Yes, many times over. Dyed rice in particular holds up for years with normal use. Pasta softens and gets sticky if it gets wet, so air it out fully before putting the lid on. If it starts to smell off or look cloudy, that batch has had its run.
Which sensory bin fillers are best for babies and young toddlers?
For the youngest kids who are still mouthing everything, start with big rolled oats, cooked cooled pasta, or soaked chia seeds. These are the safest options when you can't guarantee nothing goes in the mouth. Save small dry beans and loose salt for when mouthing is clearly behind them.
How do I dye rice or pasta for sensory play?
Put dry rice or pasta in a zip bag with a splash of white vinegar and a few drops of food coloring, seal it, and shake until evenly coated. Spread it on a baking sheet to dry completely before use, usually a couple of hours. One batch fills a standard bin and lasts a very long time.
Written by
Nora Hayes
Mom of two and a former preschool aide. I share the screen-free sensory play and calm-down ideas I test at my own kitchen table, plus what the moms in my little meet-up swear by. A parent passing on what works, not a doctor or a therapist.
More about NoraKeep going
All Sensory Bins-
 Sensory Bins
Easy Sensory Activities You Can Set Up in 10 Minutes
Toddler melting down and you've got 10 minutes? Easy sensory activities using pantry staples. Pick one, set it up, buy yourself some peace.
-
 Sensory Bins
Sensory Play Toys: 15 Tools That Build Fine Motor
Skip the $40 toys. These 15 sensory play toys build pincer grasp and hand strength, and most cost a dollar. See which an OT reaches for.
-
 Sensory Bins
All About Me Sensory Bin + 29 More Toddler Themes
Out of ideas? The all about me sensory bin starts 30 themed setups toddlers actually play with. One a week, never wing it again.
-
 Sensory Bins
Sensory Table Activities: 25 Prompts That Last
Your toddler dumps the bin in 5 minutes? These 25 sensory table activities and task card prompts stretch one bin to a full 30. Start now.