DIY Sensory Bins: Your Toddler's First, Step by Step

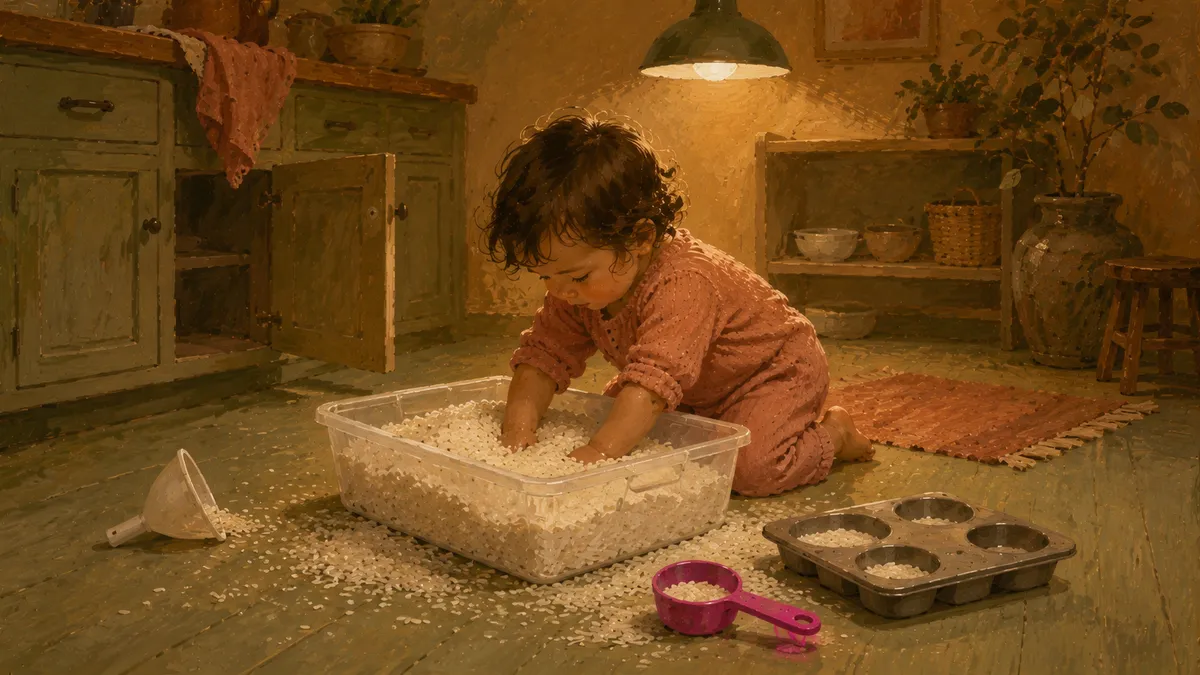
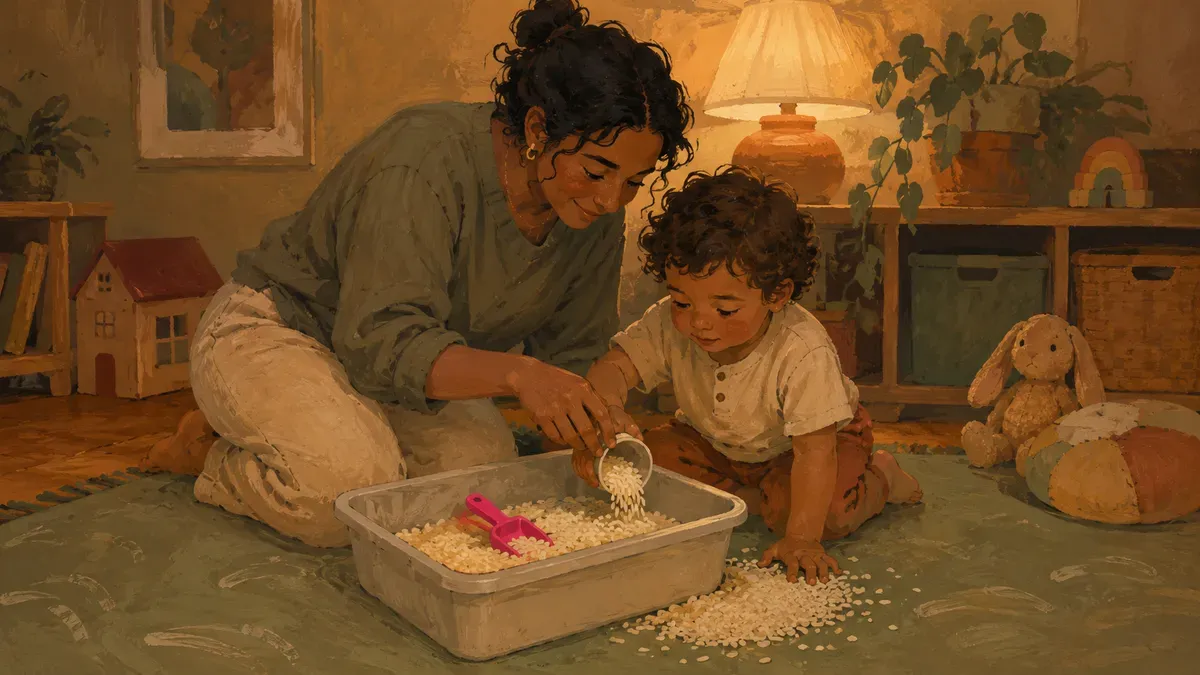
A diy sensory bin for your toddler needs just three things: a wide shallow container, a couple cups of dry rice, and a scoop or two to dig with. That setup buys ten calm minutes and builds the self-regulation a toddler brain is wired to practice. I’m Nora Hayes, a former preschool aide and mom of two, and below I’ll walk you through the fillers, the setup steps, and how to keep the mess contained.
The plan in brief:
- Fill a wide, shallow under-bed bin with 4 to 6 cups of dry rice or beans
- Drop in 2 to 3 scoops, cups, and tongs plus a few small figurines
- Set it on a wipeable mat and stay close for the first 10-minute session
What a Sensory Bin Is and Why Toddlers Need One
A sensory bin is a container filled with something interesting your kid can dig, scoop, pour, and bury things in. That’s the whole definition. A shoebox of dried pasta. A plastic tub of kinetic sand. A dishpan full of water beads. The point is hands-on learning that keeps small hands busy and small brains occupied.
Toddlers learn through touch. Give them a bin of rice with a few hidden plastic animals and they’ll work out cause and effect, build grip strength, and figure out the geometry of pouring before they’ve said a full sentence. It’s tactile exploration dressed up as entertainment. The AAP puts it plainly: play builds children’s ability to plan, organize, and regulate emotions. Sensory play is the hands-on version of that, and for toddlers, hands-on is the whole curriculum.
The fine motor skills piece matters too. Scooping, pinching, and transferring materials builds the small-muscle coordination behind writing and dressing. Cleveland Clinic notes that pouring and mixing in tactile play directly develops these skills. That’s the kind of developmental milestone that sneaks up on you when your kid suddenly grabs a pencil and actually holds it right.
If you want the full rundown on containers and fillers, the guide to sensory bins for toddlers covers every age and filler type. But you don’t need to read everything before you start. Pull out any plastic container and the nearest bag of rice. That’s a sensory bin.
How to Make a Sensory Bin in 5 Steps
This DIY sensory bin takes under ten minutes: grab a wide low container, pour in a few cups of taste-safe filler, drop in scoops and figurines, and let your kid dig.
- Pick a wide, shallow container.
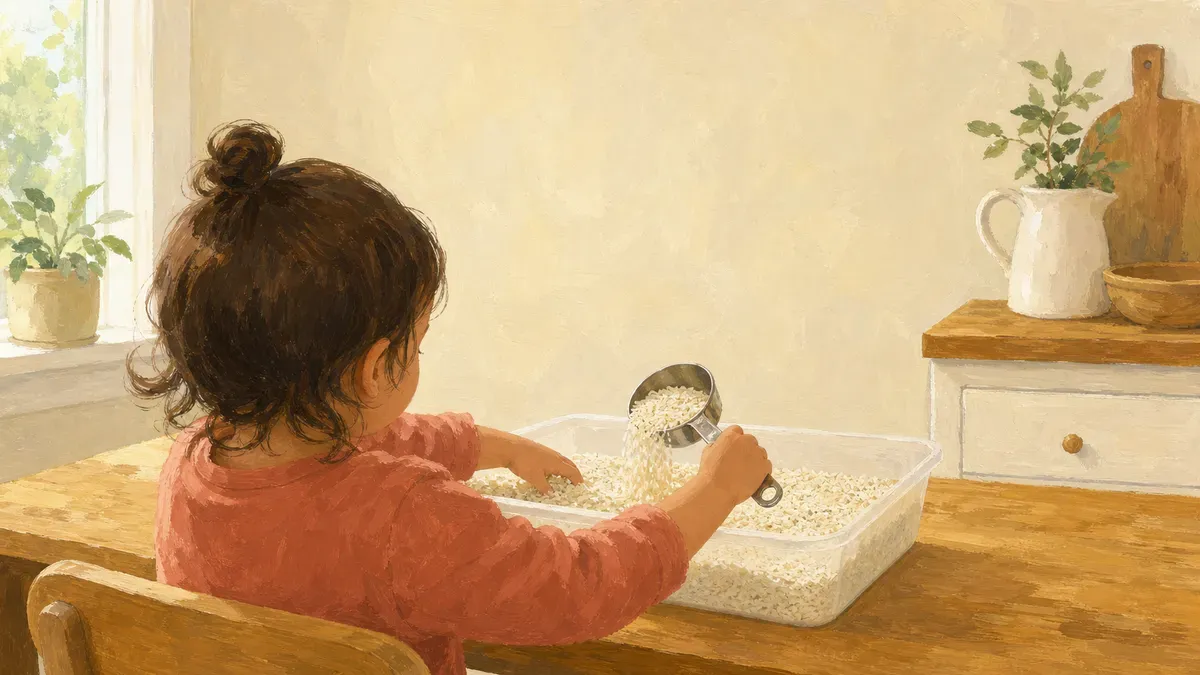
- Pour in 4-6 cups of a taste-safe filler: rice, oats, or cooked pasta.
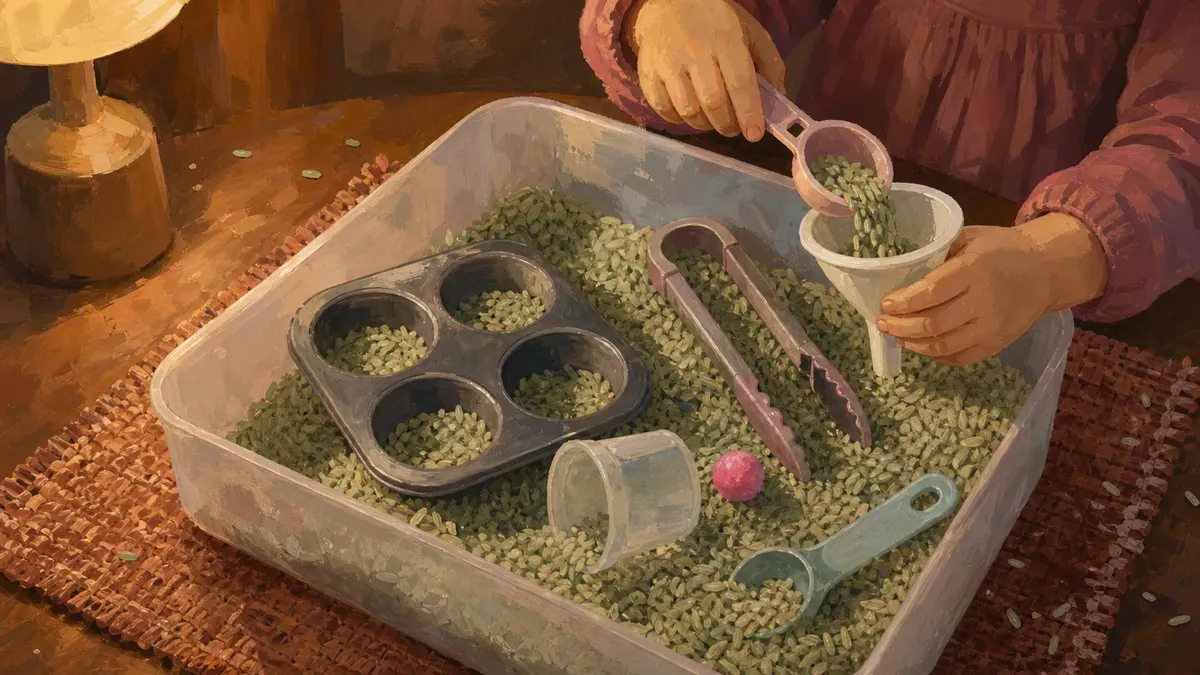
- Add tools: a couple of scoops, a funnel, tongs, and small figurines.
- Give it a story hook (dinosaurs, sea animals, whatever’s around).
- Step back and let them dig.
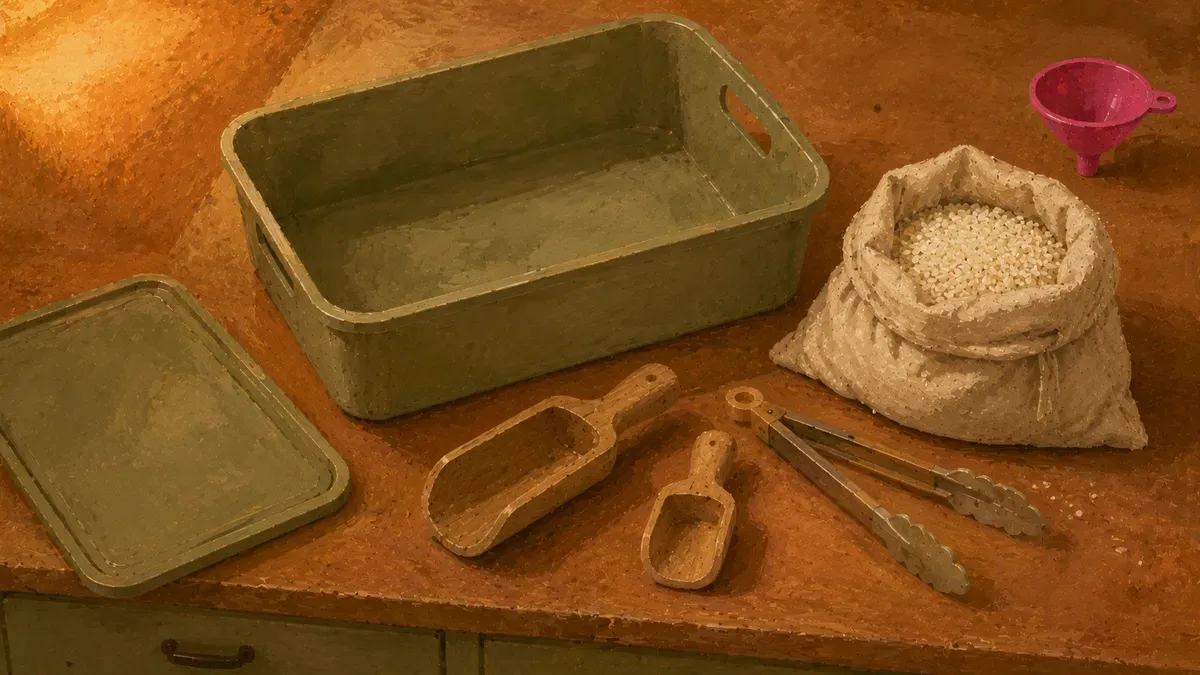
Pick the Right Container
Start with the bin, because the wrong one fights you all afternoon. You want wide, shallow, and low-sided, the kind of thing a toddler can lean over and reach the bottom of without climbing in or tipping the whole thing onto the rug.
An under-bed storage tub is my go-to for container selection. The flat, roomy shape spreads the filler out so little hands can sweep and bury, and those low walls mean a standing 3-year-old isn’t on tiptoe. Sensory bin containers in roughly that under-bed range, wide and only a few inches deep, keep the mess in and the play within reach.
No perfect tub at home? A roasting pan, a big mixing bowl, a plastic dish tub all work. Shallow beats deep every time.
Add a Toddler-Safe Filler
Now the part that actually fills the bin. Pour in four to six cups of a nontoxic filler, enough to bury a scoop but not so much it spills the second they dig in.
- Dry rice: easiest to find, great for burying small figurines
- Oats: taste-safe straight from the container, good for mouthers
- Beans: satisfying to scoop, nice weight
Under two, assume it goes in the mouth, because it will. That’s the line: if they can’t eat it, it doesn’t go in the bin. Lean on taste safe sensory play ideas like plain oats or cooked pasta for the littlest ones, and skip raw kidney beans entirely.
Want color? Dyed rice is the classic upgrade: a splash of vinegar and food coloring in a bag, dried on a tray. Keep every piece big enough that nothing becomes a choking hazard for a child still mouthing materials.
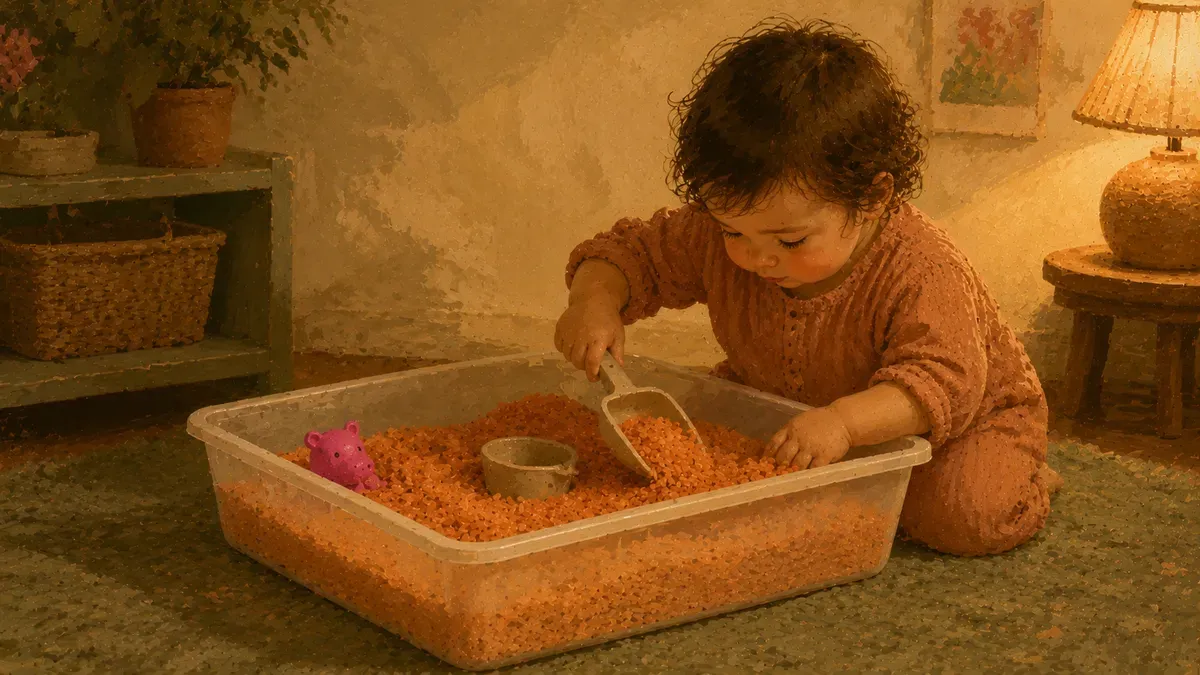
Drop In Tools and a Theme
Filler alone holds a toddler for about a minute. Tools stretch it.
A loose theme does the rest without extra work.
- Dinosaurs and rice
- Plastic sea animals and blue oats
The theme is just a hook for a story, and that story is where the learning hides. A 2023 PMC review of loose-parts play found this kind of object play supports problem-solving and divergent thinking, with the open-ended pretend feeding self-regulation.
That’s the quiet magic of unstructured free play in a themed bin.
With June at 3, a few plastic dinosaurs dropped into plain rice turned two minutes of poking at the bin into a solid twenty.
Best Fillers and Tools You Already Have at Home
Before you buy a thing, check the pantry. The best sensory bin filler is usually already in your kitchen.
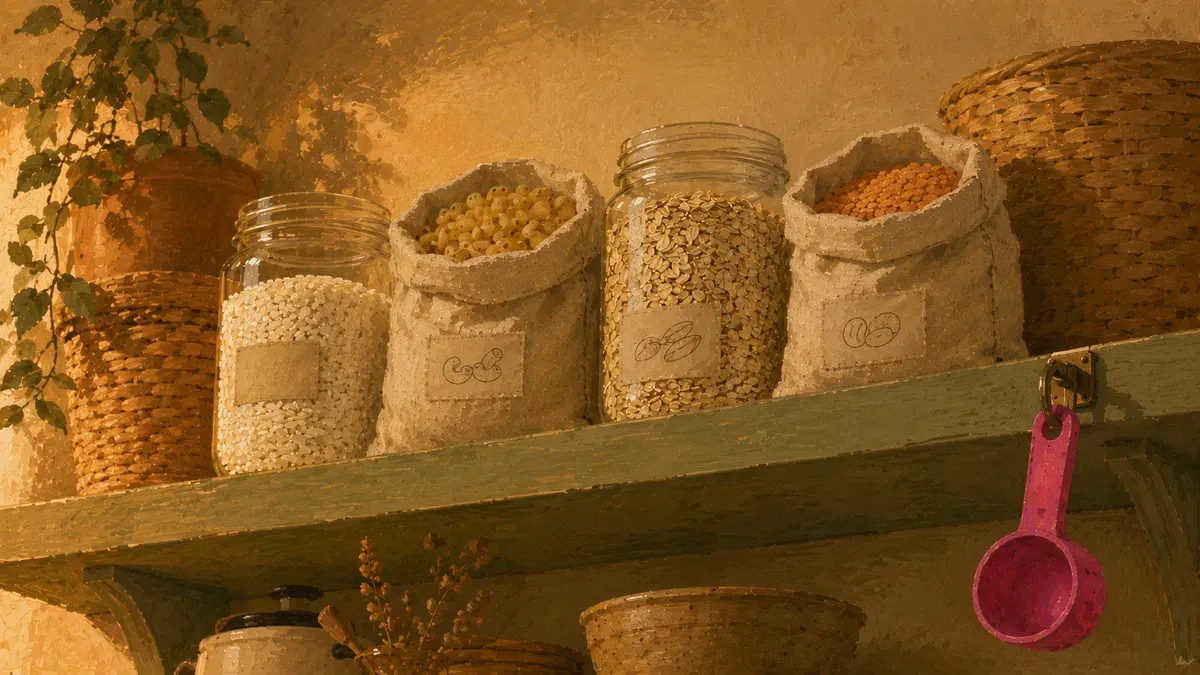
- Rice (plain or dyed) is still the gold standard. Loud, pourable, and endlessly satisfying to scoop.
- Dried pasta like penne, bowties, and shells is great for little tongs and small hands learning to grip.
- Rolled oats are softer and quieter than rice, good for a calmer session or a younger toddler.
- Dried lentils or canned beans: lentils are fine as-is; if you use kidney beans, cook or open a can first (raw kidney beans are not safe).
- Flour or cornstarch is fine motor gold. Mix cornstarch with water and you have oobleck: it flows when you hold it loosely and turns solid when you squeeze.
- Cloud dough (8 parts flour, 1 part oil) clumps and crumbles like kinetic sand at a fraction of the cost, and you can make it in ten minutes.
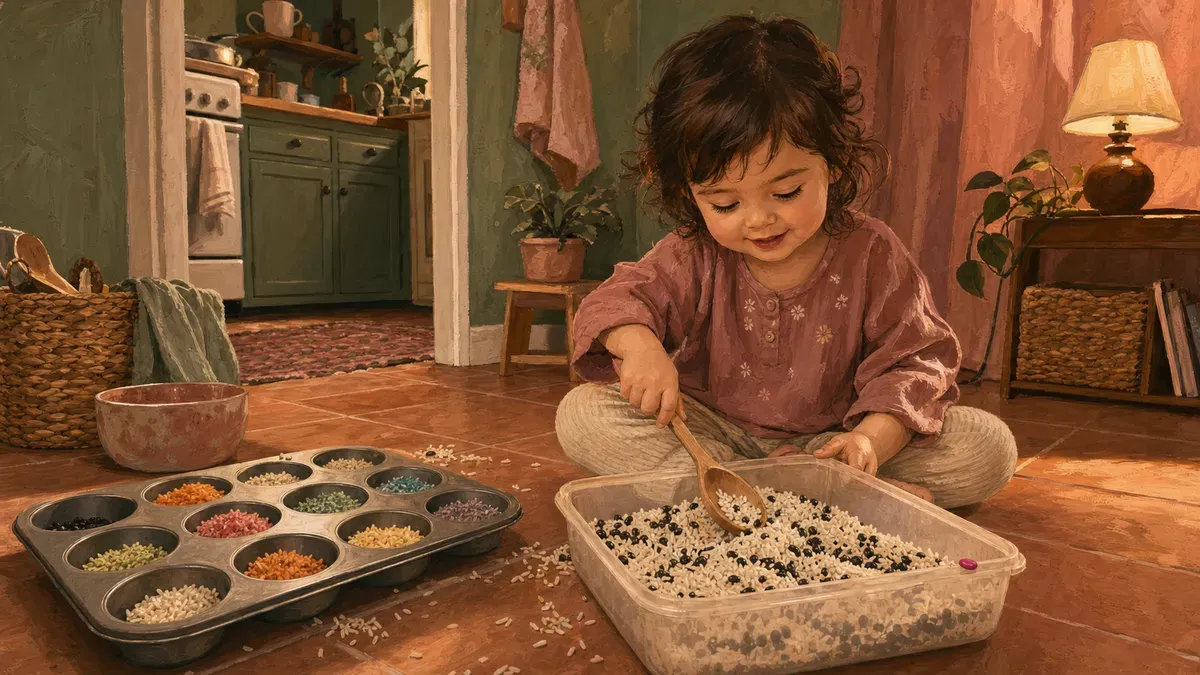
For tools, raid the kitchen drawer: a muffin tin, plastic cups, measuring spoons, a ladle, a pasta spoon with holes. Anything that scoops, pours, or holds counts.
One material to skip: water beads. The American Academy of Pediatrics says it is safest to keep water beads out of homes with young children entirely, given the risk of ingestion and intestinal blockage. The CPSC reported over 8,000 emergency department visits related to water beads between 2007 and 2022. Rice does the same sensory job with none of the risk.
For a bigger list of what works, check out 20 sensory bin fillers you already have, and most of them cost nothing.
Keeping the Mess (and the Cleanup) Under Control
Rice on the floor is not failure. It is the price of 20 minutes of focused play, and you can cut that price way down with a few setup habits.
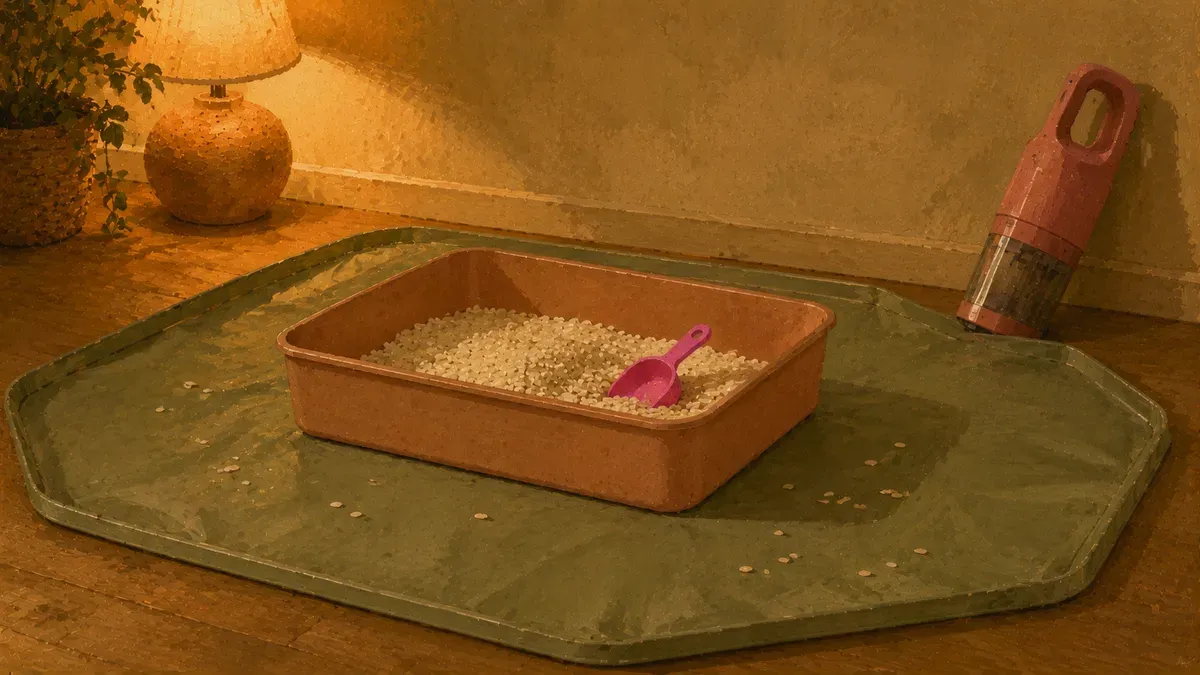
The splash mat is the single biggest upgrade I made. A dollar-store plastic tablecloth works just as well. Spread it under the bin before you pour anything in, and anything that spills lands on the mat, not the floor. When play is done, funnel the corners together and pour the filler right back into the container.
For storage, keep the bin lidded and accessible. An under-bed container slides out in ten seconds and goes right back when you’re done. A sealed lid keeps the filler clean enough to reuse for weeks.
A few things that keep low-mess indoor sensory play manageable at my house:
- Start with less filler than you think you need. Four cups is plenty. More filler means a bigger spill radius.
- Set the bin on the floor instead of the table. Gravity still wins, but the distance is shorter.
- Keep a small hand vacuum nearby. One pass and cleanup takes thirty seconds.
- Move it outside in summer when mess containment stops being your problem.
Overstimulation is the other thing that turns sensory play into a disaster zone. If your toddler dumps the whole bin in the first two minutes, the setup is probably too full or too busy. One filler, two tools, a simple theme. That’s the whole formula for a bin that runs longer than it takes you to clean up.
What to Do When Your Toddler Dumps or Eats the Filler
Dumping and mouthing are not misbehavior. They are exactly what toddlers are wired to do during tactile exploration, and a bin that’s too full or too busy practically invites both.
Before you problem-solve the behavior, check the setup first:
- Too full: Give them something to do with it instead. Hand them a cup and say “pour it in here,” giving that urge somewhere to land.
- Too many tools: Pull back to one scoop and one container. A sensory seeker who dumps is often a kid who hit the ceiling and needs a simpler starting point.
- Wrong moment: A tired, hungry, or already dysregulated kid can’t use a bin for emotional regulation. Try again after a snack or a nap.
For dumping that keeps happening regardless of setup, the guide on how to stop dumping has specific redirects worth bookmarking.
Mouthing is the bigger safety call. Under 16 C.F.R. part 1501, anything that fits inside the CPSC’s small-parts test cylinder is classified as a banned hazardous substance for children under three, and that standard covers play materials too. Anything small enough to swallow comes out of the bin until they’re past the mouthing stage.
It’s just the price of letting them explore freely without hovering every second.
Keeping Sensory Bins Fresh as Your Toddler Grows
The safety piece gets easier as they get older. What gets harder is keeping the bin interesting.
A three-year-old who spent months scooping rice needs a new challenge. Rotate the filler before they lose interest, not after. That’s the thing I learned the hard way with Eli. Once a kid walks past the bin twice without touching it, you’ve got about a week before it collects dust for good.
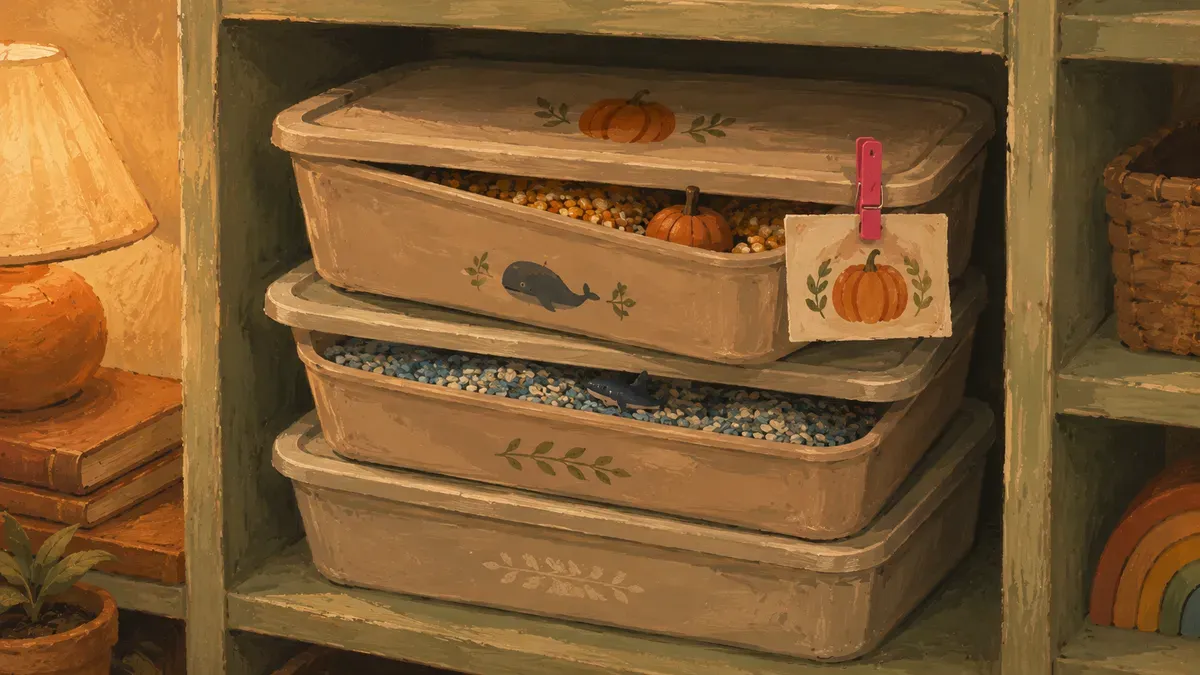
Themed bins are the simplest fix. Seasonal rotation does most of the work: same bin, different filler and a few themed props. The American Academy of Pediatrics notes that play builds cognitive development and language development gains that keep compounding as kids encounter new themes and challenges. Which is exactly why the same old rice stops cutting it around 30 months.
- Farm bin: oats, plastic animals, small scoops
- Beach bin (July): swap themes when the season shifts
- Harvest bin (September): dried corn, mini pumpkins, cinnamon sticks
You don’t need a theme for every month, just a reason to swap something out every few weeks.
The tools can scale too. Tongs, dropper bottles, and tweezers replace the big scoops as fine motor skills catch up. Check out our complete guide to setting up sensory play at home when you’re ready to go deeper, and the fall sensory bins for toddlers roundup is a good next stop when September rolls around.
Found this useful? Save it for the next rough afternoon.
Questions parents ask me about this
How do I set up a DIY sensory bin for my toddler?
The short version: wide container, one filler, two or three tools, floor level. If it's not holding attention, you probably have too much in the bin (cut to one tool and fewer cups of filler) or the filler is overwhelming for your kid (swap to something smoother like oats instead of rice). A splash mat under the bin saves cleanup time and lets you just fold it up when you're done.
At what age can toddlers start using sensory bins?
Most kids are ready somewhere around 12 to 18 months, once they can sit steadily and you can watch them closely. Start with taste-safe fillers and just one or two tools so the setup stays simple enough to hold their attention without overwhelming them.
How do I make a sensory bin taste-safe for a baby who still mouths everything?
Edible fillers only: cooked oatmeal, rice, dried pasta, or plain water. Anything that isn't safe to eat doesn't belong in the bin until your child reliably stops putting things in their mouth.
How long should a toddler's first sensory bin session last?
Two to five minutes is a real win for the first few tries. Some kids warm up slowly and need a few sessions before they'll dig in. If they bail early, that still counts. Put the bin away and try again the next day without any pressure.
How do I store a sensory bin between uses so the filler stays fresh?
An under-bed storage bin with a snap-on lid works well and keeps the filler dust-free between sessions. Make sure the filler is completely dry before sealing the lid, or it can mold. Most dry fillers like rice or lentils stay good for weeks when stored this way.
Are sensory bins safe and worth it for kids with autism or sensory processing needs?
For a child who seeks out tactile input, a sensory bin can be a good outlet, something to dig into when they need to move their hands. For a child who avoids textures, start with a filler they're already comfortable touching and let them engage at their own pace, even if that means just watching at first. Always supervise and follow your child's cues.
What can I use as a cheap sensory bin filler from my own kitchen?
Rice, dried pasta, oats, and lentils all work well and cost almost nothing. If you want something with a different feel, a cornstarch-and-water mix (oobleck) or flour-and-oil dough (cloud dough) uses pantry basics and gives a completely different texture. Try one filler at a time so you can see what your child responds to.
Written by
Nora Hayes
Mom of two and a former preschool aide. I share the screen-free sensory play and calm-down ideas I test at my own kitchen table, plus what the moms in my little meet-up swear by. A parent passing on what works, not a doctor or a therapist.
More about NoraKeep going
All Sensory Bins-
 Sensory Bins
Easy Sensory Activities You Can Set Up in 10 Minutes
Toddler melting down and you've got 10 minutes? Easy sensory activities using pantry staples. Pick one, set it up, buy yourself some peace.
-
 Sensory Bins
Sensory Play Toys: 15 Tools That Build Fine Motor
Skip the $40 toys. These 15 sensory play toys build pincer grasp and hand strength, and most cost a dollar. See which an OT reaches for.
-
 Sensory Bins
Sensory Bin Fillers: 20 Pantry Items You Own Now
Skip the craft store: 20 sensory bin fillers already in your pantry tonight, sorted by texture, mess level, and age. Start one in minutes.
-
 Sensory Bins
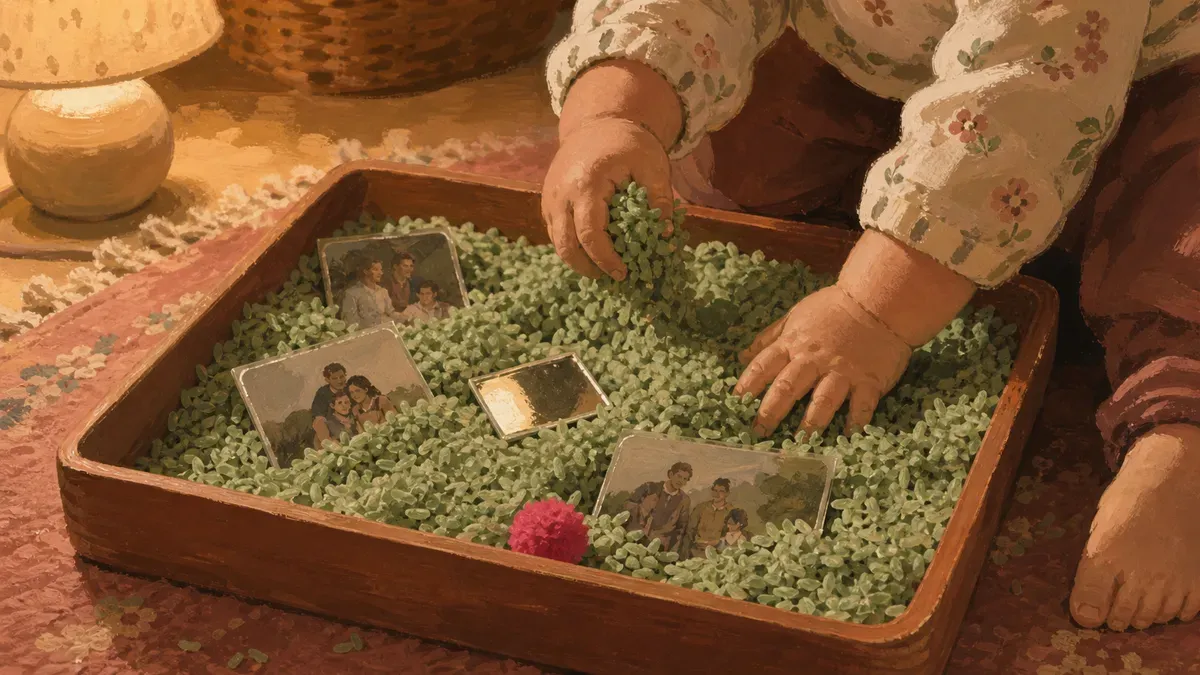
All About Me Sensory Bin + 29 More Toddler Themes
Out of ideas? The all about me sensory bin starts 30 themed setups toddlers actually play with. One a week, never wing it again.